How to clean the clear bin and cyclone
Step 1 - Removing the clear bin from the cyclone
To release the clear bin from the cyclone:
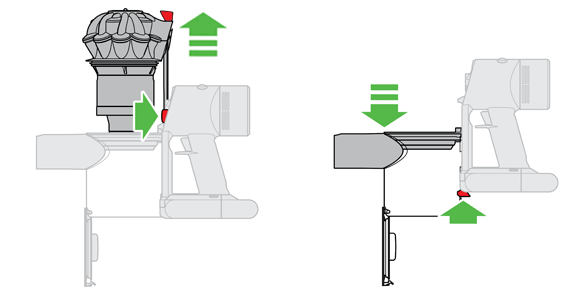
- Hold the machine by the handle, pull the red lever back and lift upwards to release the cyclone. Continue until the bin base opens fully.
- Press the red bin release catch located to the rear of the clear bin assembly.
- Remove the clear bin carefully.
Step 2 - Cleaning the clear bin
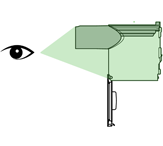
- Clean the clear bin with a damp cloth only.
- Do not use detergents, polishes or air fresheners to clean the clear bin.
- Do not put the clear bin in a dishwasher.
Step 3 - Cleaning the cyclone shroud
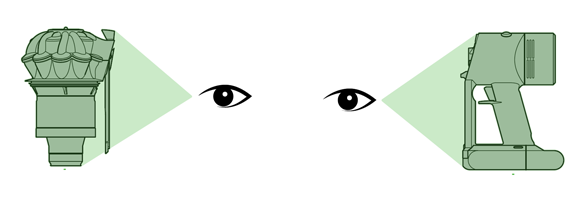
- Clean the cyclone shroud with the brush on the combination tool to remove lint and dust.
- Do not immerse the whole cyclone unit in water or pour water into the cyclones.
Step 4 - Refit the clear bin
- Ensure the clear bin is completely dry before replacing.
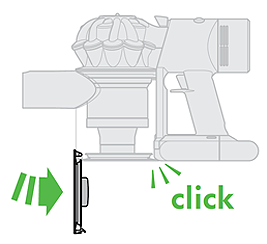
- To replace the clear bin, push the clear bin up and in to the main body of the machine. It will click into place.
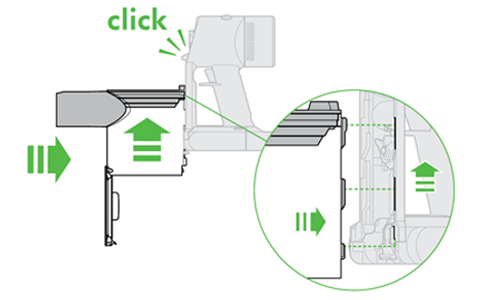
Step 5 - Refit the cyclone
- Locate the runners on the cyclone into the slots on the main body.
- Slide the cyclone down fully, until it clicks in place.
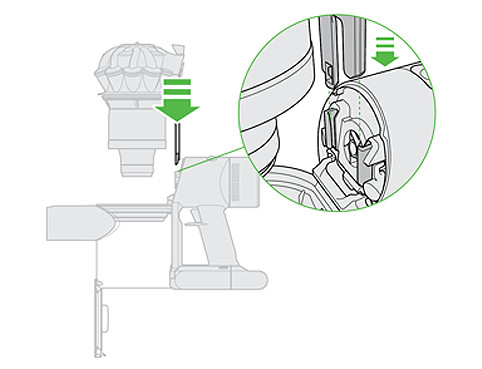
Step 6 - Close the bin base
- Close the clear bin base so it clicks into place and is secure.
