Brushbar clearance step by step guide
Remove the cleanerhead
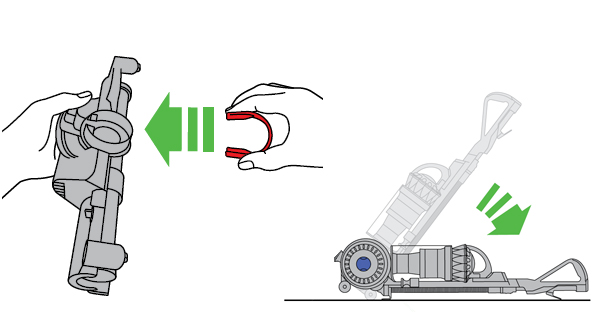
- Lay the machine on its front.
- Detach the red 'C' clip which is located at the connection between the cleanerhead and the main body.
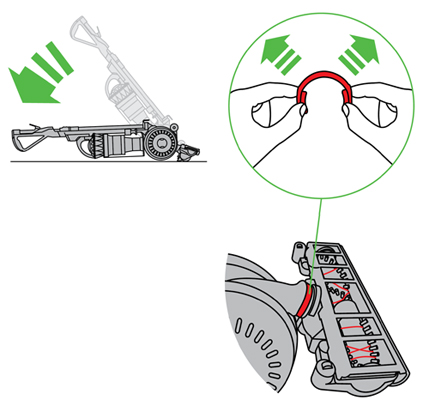
Note: Do not pull the red 'C' clip off roughly. Use a constant, firm pressure to remove.
- Once the red 'C' clip has been removed, pull the cleanerhead away from the main body using a constant, firm pressure.

Cleaning the brush bar and cleanerhead
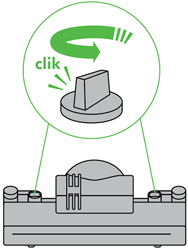
- On the cleanerhead there are two dials: turn each one a quarter-turn counter-clockwise until it clicks.
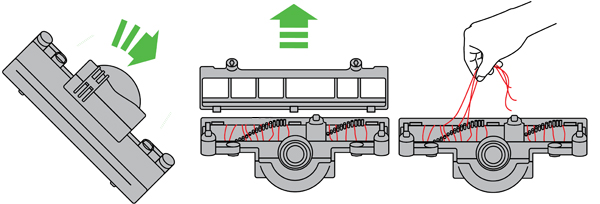
- Turn the cleanerhead over so you can see the soleplate.
- Remove the soleplate and clear any hair or debris from around the brush bar.
Checking for blockages
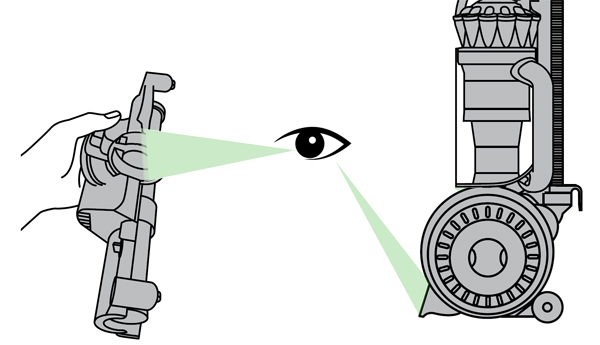
- Check the cleanerhead channel for blockages.
- Check the lower duct for blockages.
Replacing the soleplate
- To refit the soleplate locate the 3 lugs on the lower edge of the soleplate.
- Align the 3 lugs on the soleplate with the 3 slots in the base of the cleaner head.
- Pivot the soleplate, returning it to its original position until it clicks into place.
- To secure the soleplate press down and secure the dials on the top of the cleanerhead by turning them clockwise until they click.

Replacing the cleanerhead
- Refit the red 'C' clip back onto the cleanerhead making sure the flat edge fits against the cleanerhead.
- Lay the machine on its back.
- Attach the cleanerhead by aligning the connection plug pins on the cleanerhead with the twin-block connection slots available directly above the airway on the ball.
- Push firmly until the cleanerhead clicks into place.
